



































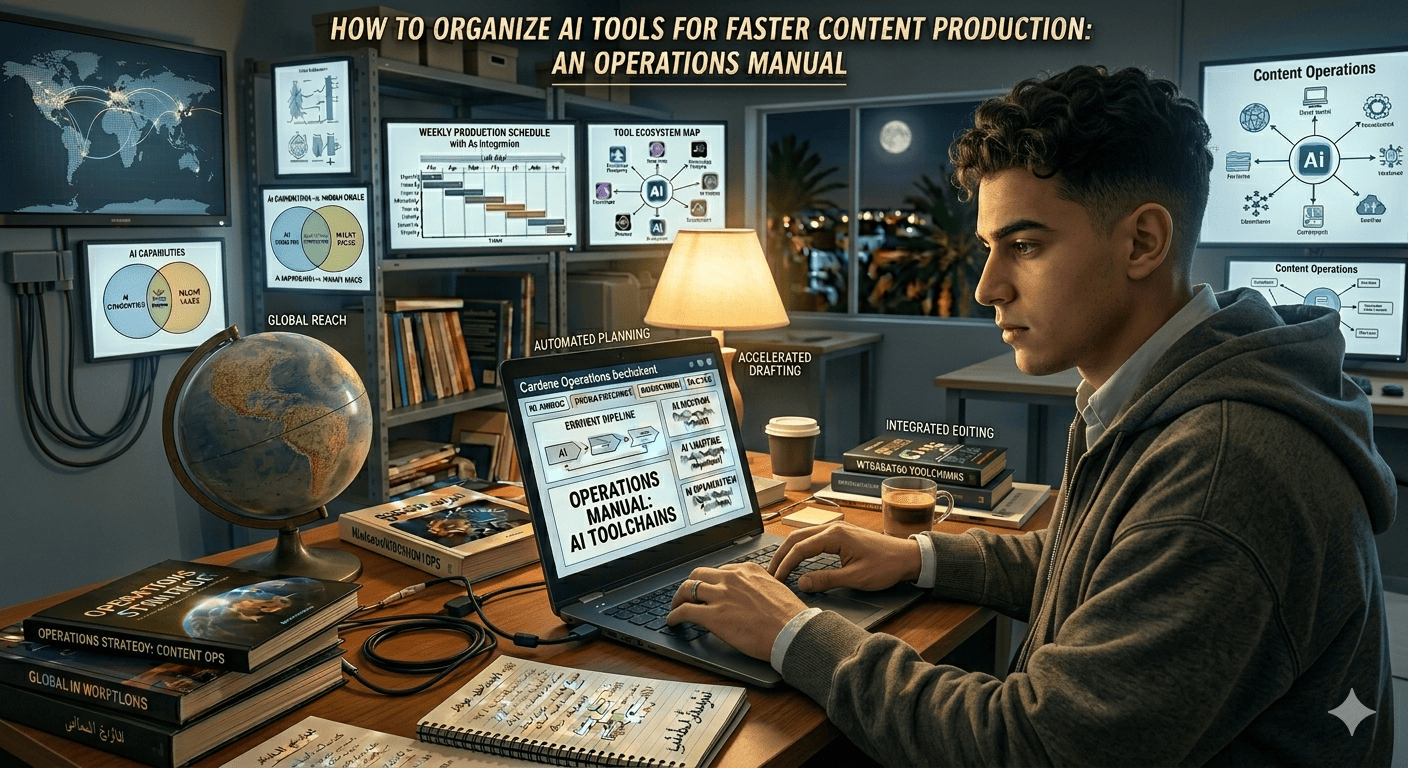
Most content producers with multiple AI tools lose time to context switching, prompt rebuilding, and pipeline confusion. This operations manual defines six processes for organizing your AI tool stack. Each process has one objective, a tool list, and numbered steps. Follow the system once. It eliminates the organizational overhead on the second run.
Process 1 — Tool Assignment (One Job Per Tool)
Objective: Assign each AI tool to one primary job and stop switching tools mid-task.
The fastest way to slow down is to ask one tool to do everything. ChatGPT drafts, edits, researches, and brainstorms — and does none of them as well as a tool built for one job.
Tool Assignment Table:
| Tool | Primary Job | Secondary Job | Do Not Use For |
|---|---|---|---|
| Perplexity | Research and sourcing | Fact-checking | Drafting |
| Claude | Long-form drafting | Outlining | Image generation |
| ChatGPT | Editing and rewriting | Brainstorming | Research |
| Nano Banana 2 | Featured images | — | Long-form text |
| Frase or Surfer | SEO optimization | Content briefs | First drafts |
Steps:
- List every AI tool you use.
- Assign one primary job to each tool — the task it performs better than the others.
- Define a secondary job for tools that can handle a second task without degrading quality.
- Define a “Do Not Use For” boundary for each tool.
- Print the table and keep it visible. When you need a task done, use the tool assigned to it.
Output: A one-page tool assignment sheet.
H2: Process 2 — Prompt Library (Store, Version, Retrieve)
Objective: Eliminate prompt rewriting. Every prompt you use more than once lives in a searchable library.
Tools: Any text editor or dedicated prompt management tool.
Steps:
- Open a new document. Create four sections: Research Prompts, Drafting Prompts, Editing Prompts, Image Prompts.
- Move any prompt you have used more than twice into its section.
- For each prompt, add a version number (v1, v2) and a date.
- When a prompt stops producing good output, create a new version instead of editing in place. Keep the old version.
- Add variables in
{{double brackets}}for parts that change per task —{{topic}},{{target_keyword}},{{word_count}}. - Test the template by running it with new variables. If the output is consistent, the template works.
Output: A prompt library with 10-15 reusable templates, versioned and searchable.
For a practical example of a drafting prompt that works across tools, see our How to Write a Full Blog Post Using Only AI Tools guide.
Process 3 — Content Pipeline (Structured Handoffs)
Objective: Every piece of content moves through the same stages in the same order.
Tools: The tool assignment table from Process 1.
Stages:
| Stage | Input | Tool | Output |
|---|---|---|---|
| 1. Research | Topic + keyword | Perplexity | Research brief with sources |
| 2. Outline | Research brief | Claude | Structured H2/H3 outline |
| 3. Draft | Outline | Claude | 2,000-word first draft |
| 4. Edit | First draft | ChatGPT | Cleaned draft |
| 5. Images | Topic + title | Nano Banana 2 | Featured image + inline graphic |
| 6. SEO | Final draft | Frase/Surfer | Optimized draft with metadata |
Steps:
- Create a folder for each piece of content.
- Name the folder using this convention:
YYYY-MM-DD-Target-Keyword. - Inside each folder, create subfolders:
01-research,02-draft,03-images,04-final. - Move the output of each stage into the appropriate subfolder as you complete it.
- Never skip a stage. If a stage finishes with poor output, repeat it. Do not move the problem downstream.
Output: A standard folder structure for every piece of content.
Process 4 — Template System (Reusable Briefs)
Objective: Stop writing a new brief for every post. Use a template.
Tools: Claude or ChatGPT to generate the initial template, then your document editor.
Steps:
- Create a document called
Content Brief Template. - Add these required fields: Target Keyword, Target Word Count, Audience, Primary Goal, Competitor URLs (3 minimum), Key Statistics to Include, Internal Links to Include, Angle (one sentence).
- Before starting any new piece of content, fill in the template. This takes five minutes.
- Paste the completed brief into your drafting tool as context before generating the outline.
- Review the template every 30 days. Add or remove fields based on what your content process actually needs.
Output: A single-page content brief template, reusable for every post.
Process 5 — Workspace Structure (Folders and Naming)
Objective: Find any file, draft, or prompt in under 10 seconds.
Tools: File explorer.
Steps:
- Create a root content folder:
Content/. - Create four top-level folders:
Prompts/,Briefs/,Posts/,Assets/. - Inside
Prompts/, organize by tool:Prompts/Perplexity/,Prompts/Claude/,Prompts/ChatGPT/. - Inside
Posts/, use the naming convention from Process 3:2026-06-15-ai-tool-organization/. - Inside each post folder, use numbered subfolders:
01-research,02-draft,03-images,04-final. - Archive completed posts to an
Archive/folder once they are published. Keep the current month’s posts in the active directory.
Output: A folder structure that scales to hundreds of posts without clutter.
Process 6 — Automation Layer (Triggers and Handoffs)
Objective: Automate the handoffs between stages so you do not have to remember them.
Tools: Make, Zapier, or n8n.
Steps:
- Identify the handoff that happens most frequently in your pipeline. For most producers, this is “research brief → outline generation.”
- Set up a trigger: when a new research brief is saved to a specific folder or Notion database, automatically send it to Claude with an outline prompt.
- Test the automation with three pieces of content. Fix any issues with the prompt or the handoff format.
- Add one more automation per week until the handoffs between all six stages are automated.
- Keep a manual override. Automations fail. Always be able to run the pipeline manually.
Output: 2-3 automated handoffs that eliminate the most time-consuming manual transfers.
Putting It All Together: The Weekly Rhythm
Monday morning (30 minutes):
- Open the brief template. Create briefs for the week’s content.
- Review the prompt library. Update any prompts that produced weak output last week.
Monday through Thursday (pipeline execution):
- Run each piece of content through the six-stage pipeline.
- Move files through the standard folder structure.
Friday (30 minutes):
- Archive published posts.
- Review the tool assignment table. Is each tool still the best choice for its assigned job?
- Review the prompt library. Which prompts need new versions?
This rhythm eliminates the “what do I do now?” pause between every content task.
Frequently Asked Questions
Do I need all six processes to see improvement? Processes 1, 2, and 3 produce the largest time savings. Start there. Add Processes 4, 5, and 6 over the following weeks.
How long does it take to set up this system? About two hours for the initial setup, spread across one weekend. The ongoing maintenance is 30 minutes per week.
What if I only use two AI tools? The same system applies. Assign each of your two tools to specific jobs. Build a small prompt library. Use the folder structure. The scale adapts.
Does this system work for a team? Yes. The operations manual format is designed for handoff. Each team member can follow the same processes, and the folder structure keeps work organized across contributors.
What is the biggest mistake people make when organizing AI tools? Asking one tool to do everything. The single biggest productivity gain comes from fixed tool assignments — knowing exactly which tool to open for each task.
For a comparison of which tools to assign to which jobs, our Best AI Content Generators in 2026 tested every major tool on the same tasks.
Conclusion
Six processes. Tool assignment, prompt library, content pipeline, template system, workspace structure, automation layer. Each process eliminates one source of friction — the time spent choosing the wrong tool, rebuilding a prompt, searching for a file, or manually transferring content between stages. Set up the six processes once. The second piece of content moves through the system in half the time.

Independent technology writer focused on artificial intelligence, emerging technologies, and digital innovation. Covers AI applications in sports, productivity, and online business.